How to Add GIFs to Your Videos in Adobe Premiere Pro (Fast & Easy Method)
Adding GIFs to your videos is one of the easiest ways to make your content more engaging, humorous, and visually dynamic. Whether you're creating YouTube videos, social media clips, or tutorials, GIF overlays can instantly boost viewer attention.
In this guide, you'll learn how to add GIFs directly inside Adobe Premiere Pro using a simple plugin workflow. This method lets you search, insert, and manage GIFs without ever leaving your editing timeline. 🎬
Why Use GIFs in Video Editing?
GIFs have become a universal visual language on the internet. Incorporating them into your edits can:
Add comedic reactions or memes
Emphasize key moments or punchlines
Improve viewer engagement and retention
Make content feel modern and shareable
Instead of downloading GIFs from websites and importing them manually, this workflow lets you search and insert GIFs directly inside Premiere Pro.
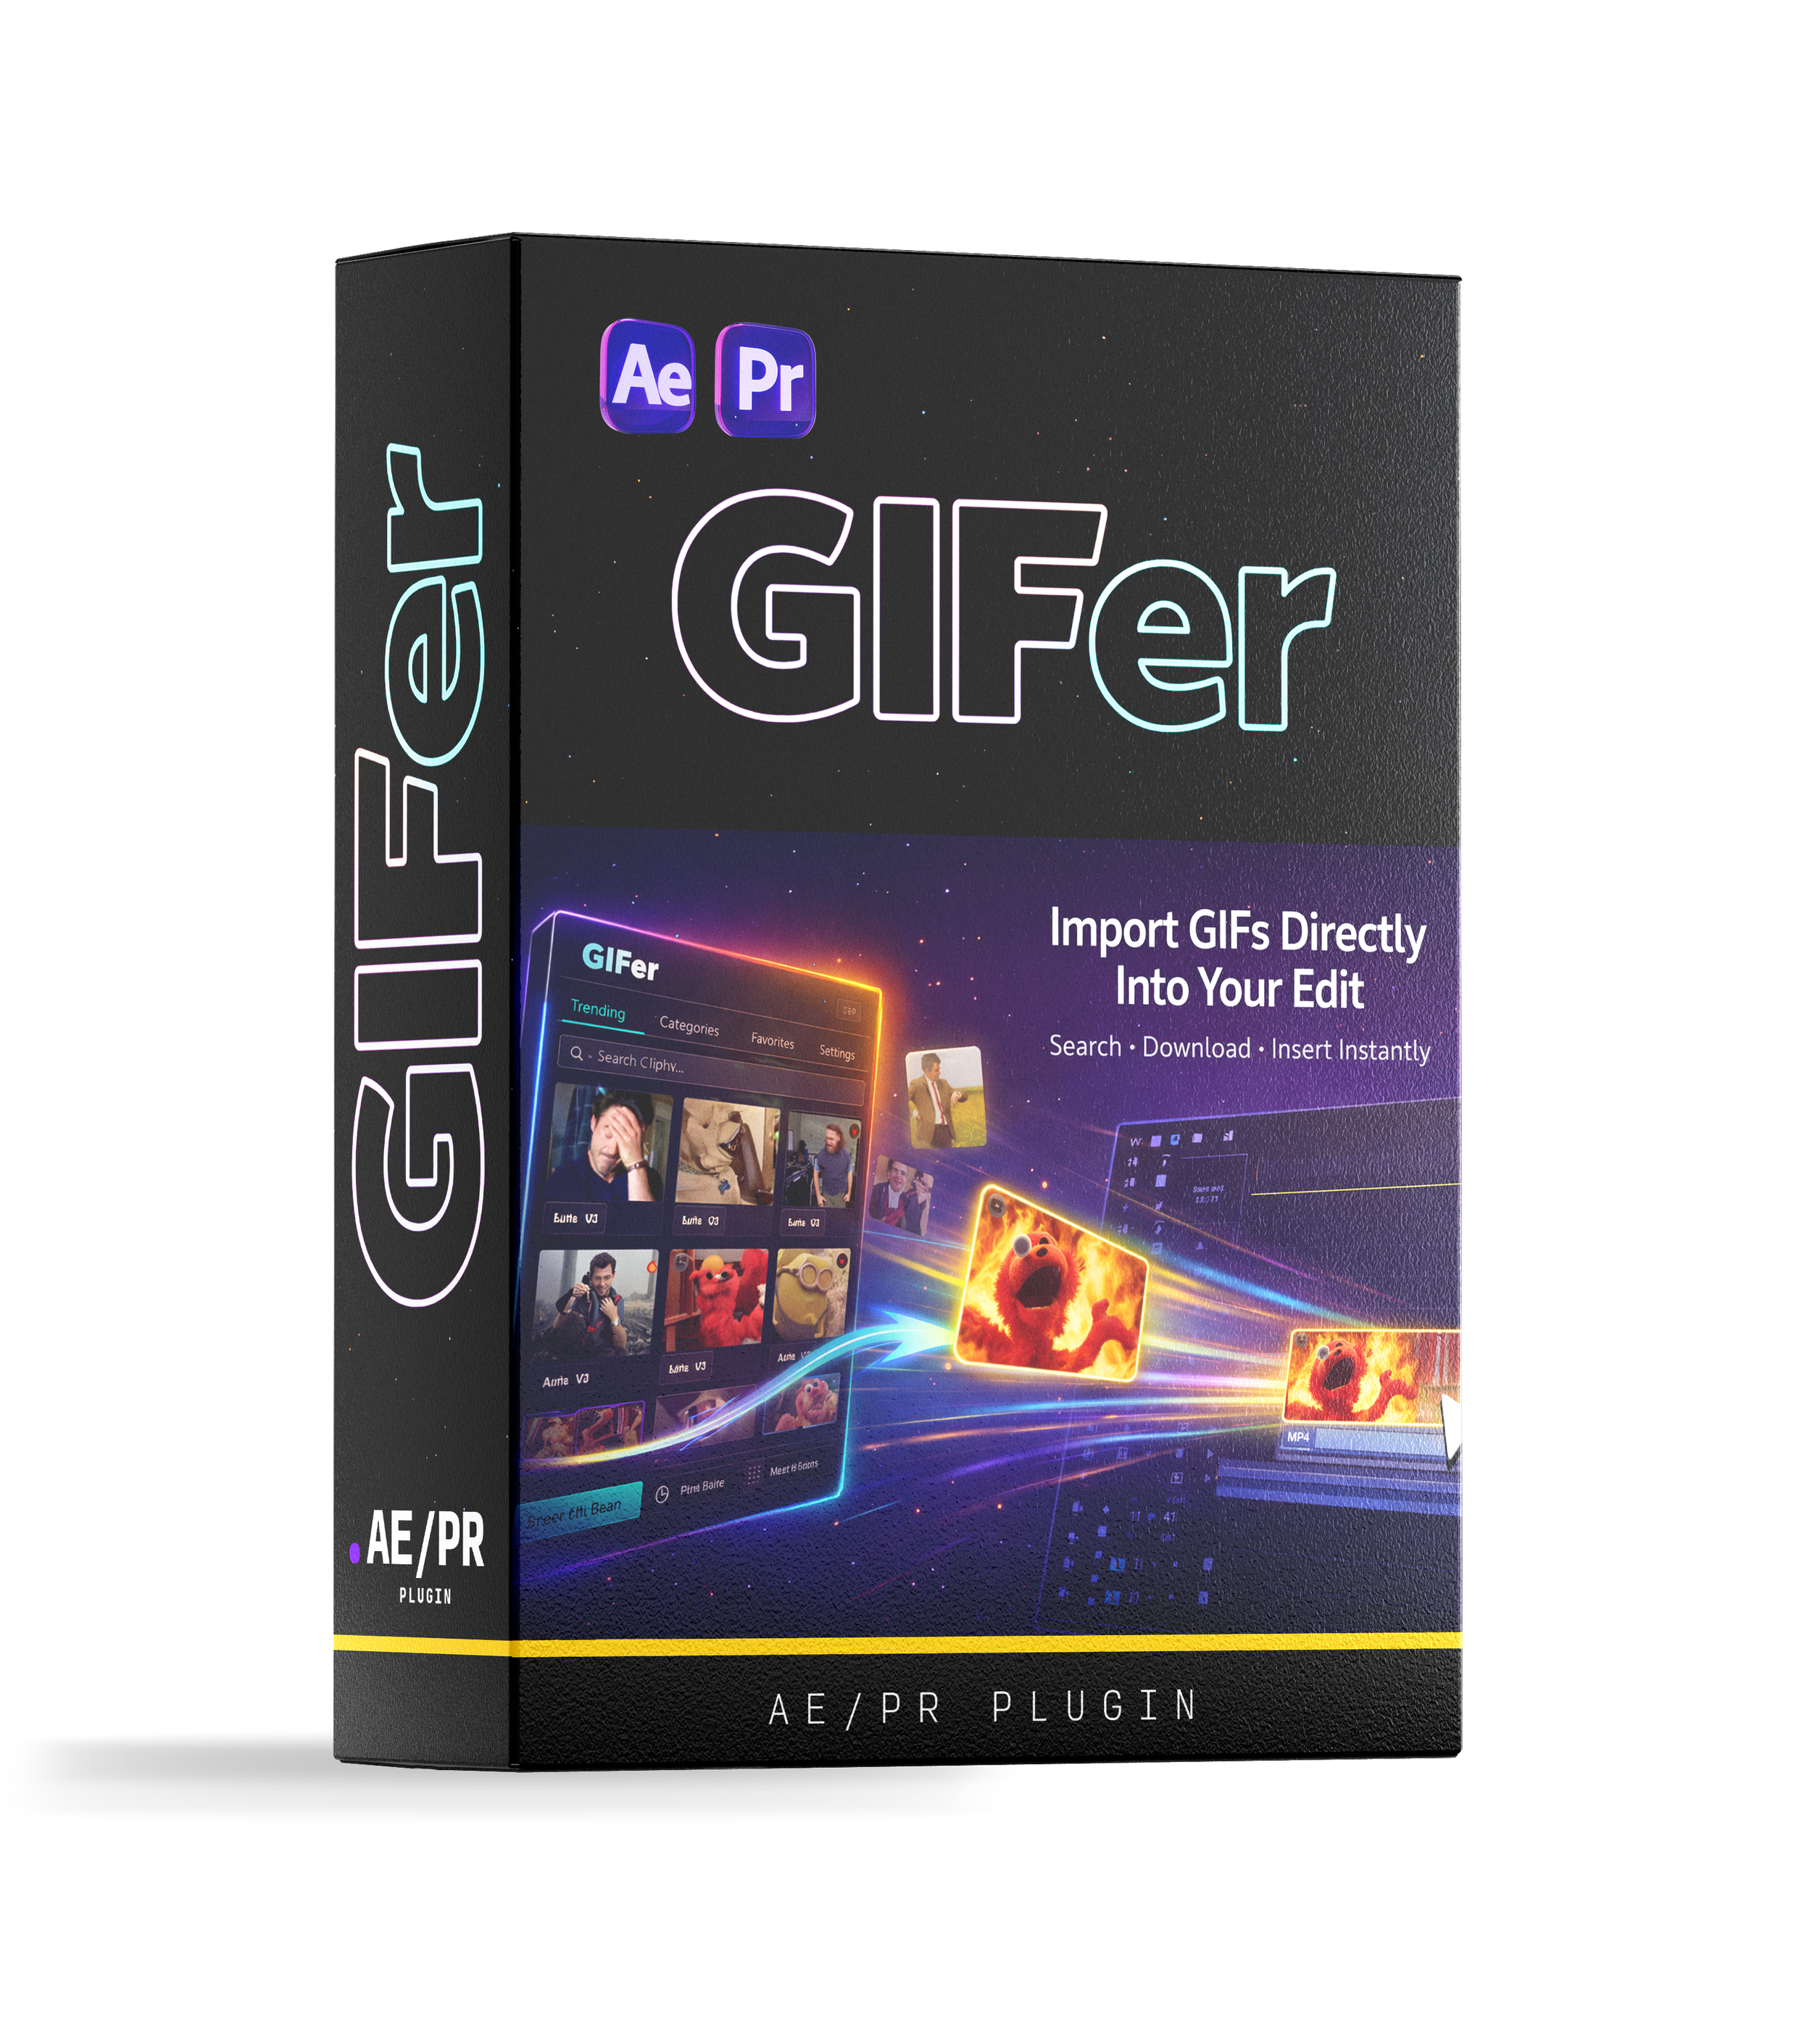
Step 1: Install the GIF Plugin
Before you can insert GIFs inside Premiere Pro, you’ll need to download the plugin mentioned in the video.
Once installed, the extension integrates directly into Adobe’s extensions panel.
According to the tutorial, after downloading the plugin from the provided website link, you simply install it and access it through Premiere Pro’s extension menu.
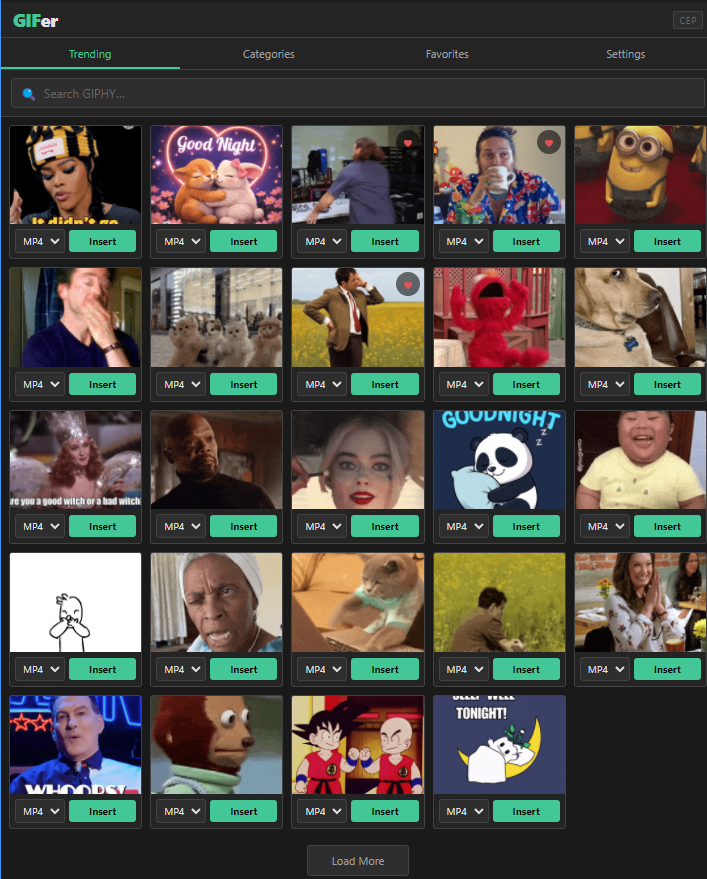
Step 2: Open the GIF Browser in Premiere Pro
Once the plugin is installed, launching it is simple.
How to open it:
Open Adobe Premiere Pro
Navigate to the top menu
Click:
Window → Extensions → GIF PluginThis opens a built-in GIF browser panel inside Premiere.
From here, you can:
Search for GIFs
Browse trending options
Insert them directly into your timeline
This eliminates the need to leave Premiere or download files manually.
Step 3: Create and Add Your API Key
The first time you launch the extension, a setup window appears prompting you to generate an API key.
Setup process:
Follow the instructions in the plugin dialog
Generate your API key
Paste the key into the plugin
Click Save and Start
Once completed, the GIF browser becomes fully functional and you can begin searching for animations immediately.
Step 4: Search for GIFs
Now the fun part begins.
Inside the panel, you can search for almost anything.
Example search:
Family GuyThe plugin instantly loads a collection of matching GIFs.
You can:
Scroll through results
Load more GIFs
Try different search keywords
This works just like browsing GIFs online—but directly inside your editing software.
Step 5: Insert GIFs Into Your Timeline
Once you find a GIF you like, adding it to your video takes one click.
To insert a GIF:
Click Insert next to the GIF
The plugin automatically places it in your timeline
Repeat for additional GIFs
You can stack multiple GIFs, reposition them, and layer them like any other video asset.
Step 6: Resize the GIF to Fit Your Frame
After inserting a GIF, you may need to scale it to match your video.
A quick method is:
Select the GIF clip
Right-click
Choose Fill Frame
This automatically resizes the GIF to match your sequence dimensions.
You can also manually adjust:
Scale
Position
Opacity
Timing
Just like any normal video layer.
Step 7: Manage GIF Files in Your Project Bin
When you insert GIFs using the plugin, Premiere Pro automatically organizes them.
You’ll notice a GIF folder appear inside your Project panel.
This folder stores every GIF you've inserted, making them easy to:
Reuse
Duplicate
Organize
No manual importing required.
Bonus: Save Your Favorite GIFs
Another helpful feature is the Favorites system.
If you frequently use certain reaction GIFs, you can save them for quick access later.
How to save favorites:
Click the favorite icon
The GIF gets stored in your saved library
Access it anytime without searching again
This is especially useful for creators who rely on recurring reaction memes.
Using the Plugin in After Effects
The same plugin workflow isn’t limited to Premiere Pro.
It also works inside Adobe After Effects.
Just open the extension panel in After Effects and repeat the same steps:
Search for GIFs
Insert them as layers
Stack or animate them
This makes it perfect for motion graphics, meme edits, or animated overlays.
💡 Pro Tips for Using GIFs in Videos
Here are a few expert tips to make GIF overlays look professional:
Keep GIFs Short
Use GIFs for quick reactions, not long sequences.
Match the Tone
Choose GIFs that align with the emotion of the moment (funny, shocked, confused, etc.).
Layer With Sound Effects
Adding subtle whooshes or comedic sounds can amplify the impact.
Avoid Overuse
Too many GIFs can distract viewers. Use them strategically.
Common Use Cases for GIFs in Editing
Creators often use GIFs for:
YouTube commentary videos
Meme-style edits
Reaction moments
Educational emphasis
Social media clips
Gaming content
They’re particularly effective for short-form content like TikTok, Shorts, and Reels.
Final Thoughts
Adding GIFs to your Premiere Pro workflow is an easy way to bring personality and humor into your edits. With the plugin method shown in this tutorial, you can search, insert, and organize GIFs without ever leaving your editing software.
The process is fast:
Install the plugin
Open it in Window → Extensions
Add your API key
Search for GIFs
Insert them directly into your timeline
Simple, powerful, and perfect for modern video content.
🚀 Want More Video Editing Tutorials?
If you want more tools and workflows to improve your editing speed and creativity, check out more tutorials and resources at Filmit.io.
And if you found this guide helpful, try the GIF plugin yourself and start adding engaging meme reactions and animations to your videos today! 🎬